Before You Plant: The Native Garden Pre-Flighting Checklist
The short version
- Read your HOA CC&Rs before designing anything. Look for height limits, pre-approval requirements, and maintenance standards.
- Submit HOA pre-approval and rebate applications before starting work. Most rebate programs disqualify retroactive applications.
- Map sunlight at 8 AM, noon, and 4 PM during the planting season, not in early spring when canopy cover is different.
- Native plants need regular watering for the first 6 to 12 months. "Low maintenance" applies after establishment, not before.
Most native garden problems are planted problems. Overwatered first-year plants. Species dropped into the wrong ecoregion. Rebate applications submitted after the work was already done. A few hours of preparation before you dig will save you from redoing everything six months later.
This checklist covers the ten things worth confirming before you buy a single plant. Go through it in order, because some steps (especially HOA pre-approval and rebate applications) have to happen before the plants go in the ground.
1. Read your HOA documents before anything else
If you live in a community with an HOA, your CC&Rs (Covenants, Conditions, and Restrictions) are the starting point. Look for sections on landscaping, front yard standards, plant height limits, and the pre-approval process for exterior changes.
Most HOAs care about aesthetics, not species. Clear edges, tidy mulch, and maintained beds satisfy the vast majority of governing documents. But you need to know your specific rules before you design around them.
Key things to look for: Is there a maximum height for front-yard plants? Does landscaping require architectural review committee approval before installation? Are there rules about percentage of lawn coverage? See our HOA 101 guide for a breakdown of what most boards actually enforce.
2. Submit for HOA pre-approval (if required)
If your HOA requires pre-approval for landscaping changes, submit before you do anything visible. This usually means a simple landscape plan showing what you plan to plant, where, and at what mature height.
Allow 2 to 6 weeks for HOA response. Most boards meet monthly. Submitting in September for a November planting gives you buffer to address any feedback without missing the optimal planting window.
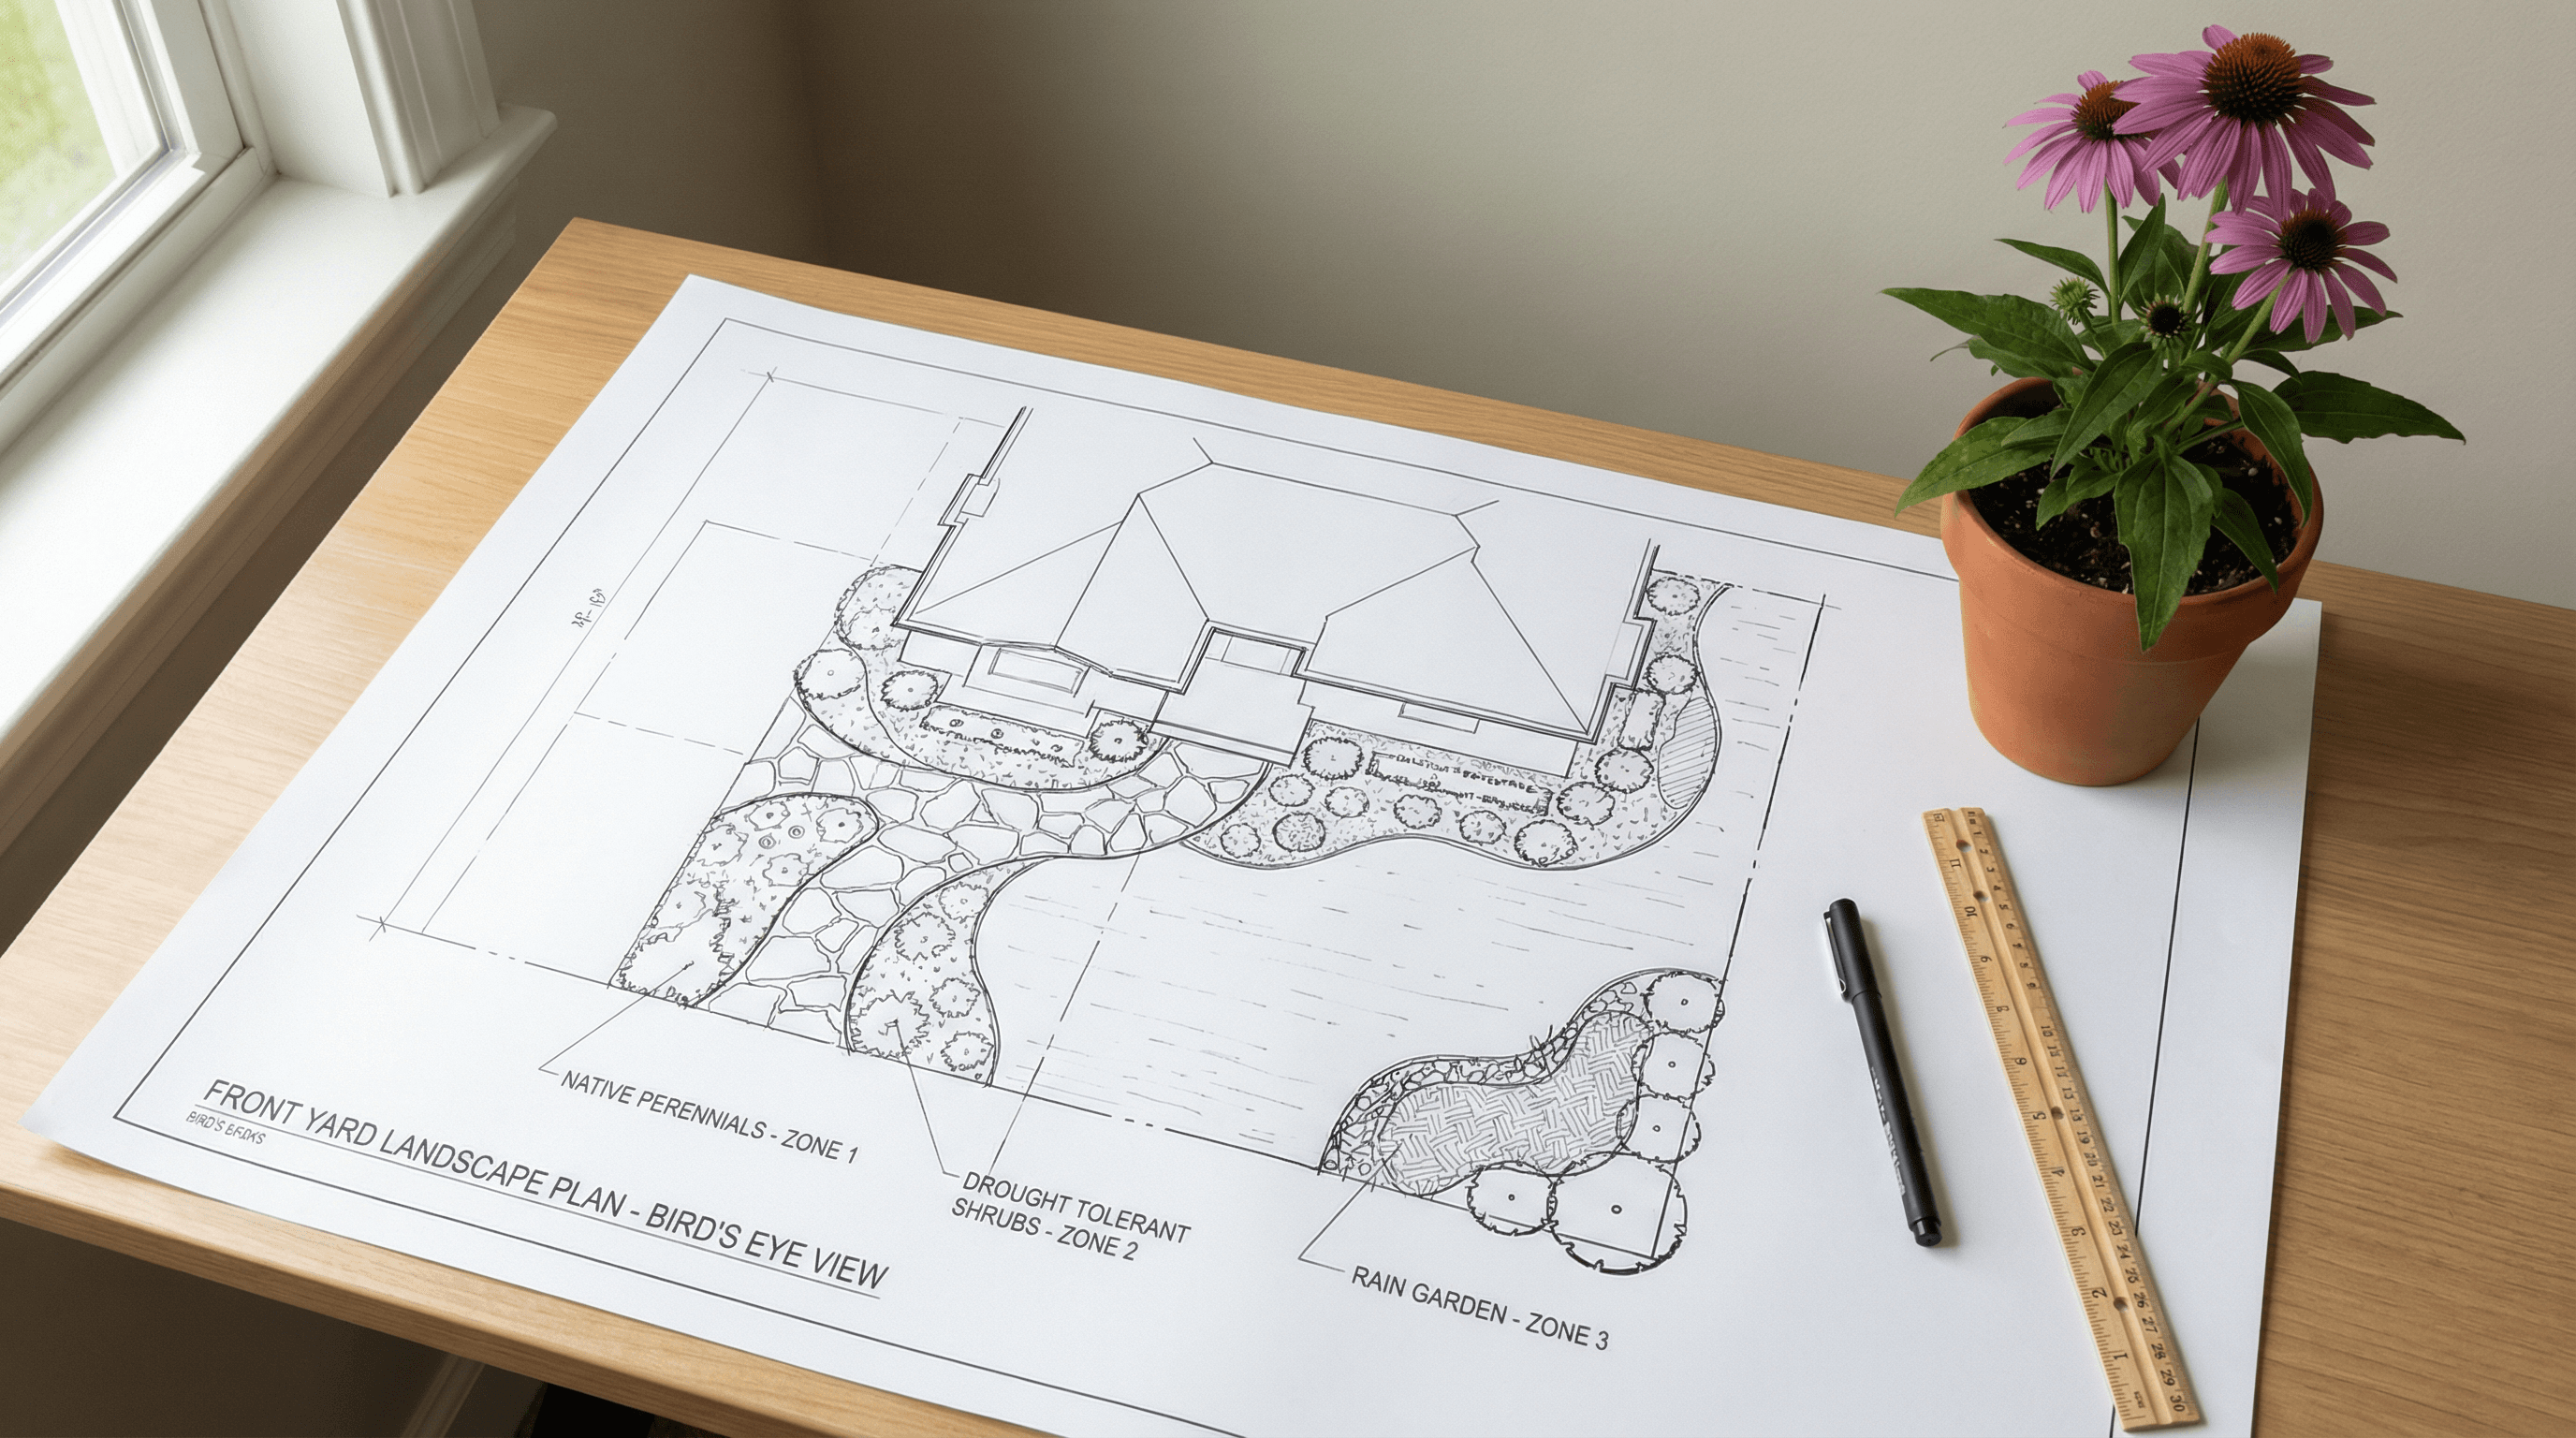
A printed plant list with photos of mature plants, a rough bed layout diagram, and a note about expected maintenance goes a long way. HOA boards are often more comfortable approving something that looks planned and documented than something that looks improvised.
3. Check for rebate programs in your city
Many Texas cities and water districts offer rebates for replacing turf with native or drought-tolerant plants. The catch: most programs require you to apply and receive approval before you start work. If you install the plants first, you are usually disqualified.
Programs worth checking: Austin WaterWise (up to $2,500), Georgetown Love Your Local Lawn (up to $5,000/year), Denton Turf Buy-Back (up to $5/sq ft), and SAWS WaterSaver in San Antonio (up to $500 in coupons). See the full list at Texas Native Landscaping Rebates.
Rebate applications typically ask for before photos, a project description, and sometimes a planting plan. Doing your HOA pre-approval first means you have a plan document ready to attach.
4. Map your sunlight
Walk your front yard at 8 AM, noon, and 4 PM on a clear day and note which areas are in full sun, part shade, or full shade at each time. Do this in the season when you plan to plant, because tree canopy and sun angle change significantly between spring and fall.
Full sun means 6 or more hours of direct sun per day. Part sun is 3 to 6 hours. Most Texas native plants labeled "full sun" genuinely need those 6+ hours to perform well. Planting a Mealy Blue Sage in 3-hour morning sun and calling it full sun is one of the most common reasons native plants look scraggly and fail to bloom.
Take notes or photos. Knowing which corner of your yard gets afternoon shade lets you match plants to conditions rather than guessing.
5. Identify your ecoregion
Texas spans five major ecoregions: the Edwards Plateau (Hill Country), Blackland Prairie (Dallas-Austin corridor), Piney Woods (east Texas), South Texas Plains, and Trans-Pecos (far west). Each has different soils, rainfall patterns, and plant communities.
A plant that thrives in Austin's limestone-heavy Edwards Plateau soil may fail in Dallas's Blackland Prairie clay, even though both cities are labeled "Zone 8." Ecoregion determines which native plants will establish reliably without extra work. See how pollinators vary by ecoregion for a deeper look at why region matters.
6. Do a basic soil check
You don't need a lab test for most native plant projects. A simple hand texture test tells you whether you have sandy soil (drains fast, needs drought-tolerant plants), clay (drains slowly, needs plants that tolerate wet feet), or loam (the easiest to work with).
Take a handful of moist soil and squeeze it. If it forms a ribbon when you press it between your thumb and finger, it has significant clay content. If it crumbles immediately, it's sandy. A ribbon that breaks at about an inch means you have moderate clay.
Most Texas native plants are adapted to lean, well-draining soil. Adding compost to compacted clay beds before planting helps first-year establishment but is not required for established natives.
7. Plan your plant removal
If you are replacing existing turf, ornamental shrubs, or invasive plants, plan the removal before you buy anything. Timing matters. Removing St. Augustine grass in Texas is easiest in late summer or early fall when heat stress is already weakening it. Invasive species like Nandina, Ligustrum, or Chinese Tallow may need multiple removal attempts to prevent regrowth.
Sod removal options: manual removal with a sod cutter (rent from a big-box store), sheet mulching with cardboard and 4 inches of wood chip mulch (slower but less labor), or targeted herbicide followed by removal (fastest for large areas, but requires a waiting period before planting).
Budget 3 to 6 weeks between turf removal and planting if you are using the sheet mulch method.
8. Set a planting window
Fall (October through November) is the best planting window for most of Texas. Cooler temperatures reduce transplant stress and winter rains help roots establish before summer heat. Spring (March through April) is a viable second window but requires more attention to watering during the first summer.
Work backward from your target planting date. If you want to plant in October, submit your HOA pre-approval in August and your rebate application in September.
9. Build a plant list from your actual conditions
With your ecoregion, sun exposure, and soil type mapped, build a plant list that matches those conditions rather than choosing plants you like the look of and hoping they adapt.
For an HOA-conscious front yard, prioritize plants with controlled growth habits: defined bloom stalks rather than sprawling habit, moderate heights that stay under any HOA limits, and species that look intentional rather than wild even when in full growth. Mealy Blue Sage, Blackfoot Daisy, Prairie Verbena, Gulf Muhly, and Autumn Sage hit most of these criteria across Texas ecoregions.
Use Pollinator Patch to filter by ecoregion, sun, and HOA-conscious height at once rather than cross-referencing multiple sources. The plant database includes 3,900+ native species nationwide with those filters built in.
10. Plan your first-year watering
"Low maintenance" applies to established native plants, not newly installed ones. Almost all Texas natives need regular watering for the first 6 to 12 months while roots develop. After that, most are drought-tolerant. But if you plant in fall and ignore them through the following summer, you will lose plants that would have thrived in year two.
A general rule: water newly installed plants every 2 to 3 days for the first two weeks, then weekly for the first summer, then as needed based on rain. Drip irrigation on a timer makes this nearly effortless and is itself rebate-eligible in some Texas cities.
The checklist at a glance
- Read your HOA CC&Rs (find height limits, pre-approval process, aesthetic rules)
- Submit HOA pre-approval if required (allow 2 to 6 weeks)
- Check rebate programs and apply before starting any work
- Map sunlight at 8 AM, noon, and 4 PM
- Identify your ecoregion (Edwards Plateau, Blackland Prairie, Piney Woods, South Texas, or Trans-Pecos)
- Do a basic soil texture test
- Plan turf or invasive plant removal (allow 3 to 6 weeks for sheet mulch method)
- Set a planting window (target fall, October to November)
- Build your plant list from actual conditions: ecoregion, sun, soil, HOA height limits
- Plan first-year watering (weekly through the first summer after establishment period)
The average front yard conversion project from planning to planting takes 6 to 10 weeks when you include the HOA and rebate steps. Starting that process before you have plants picked means no delays once you are ready to dig.